
Ring Making
A day of silver smithing, soldering, and sweating over a jewelry bench...

Last weekend my friend and I tried something absolutely new to both of us. We signed up for a full day ring making workshop at Mountain Gems in Burnaby.
They offer many classes, some of them in depth, five-week courses where you learn all the tools of the trade, some are one full day, some two days, at the end of which you walk away with new skills and some beautiful pieces of wearable art that you made with your own hands. (If you’re in the Vancouver/Burnaby area, check out their always changing class list here.)
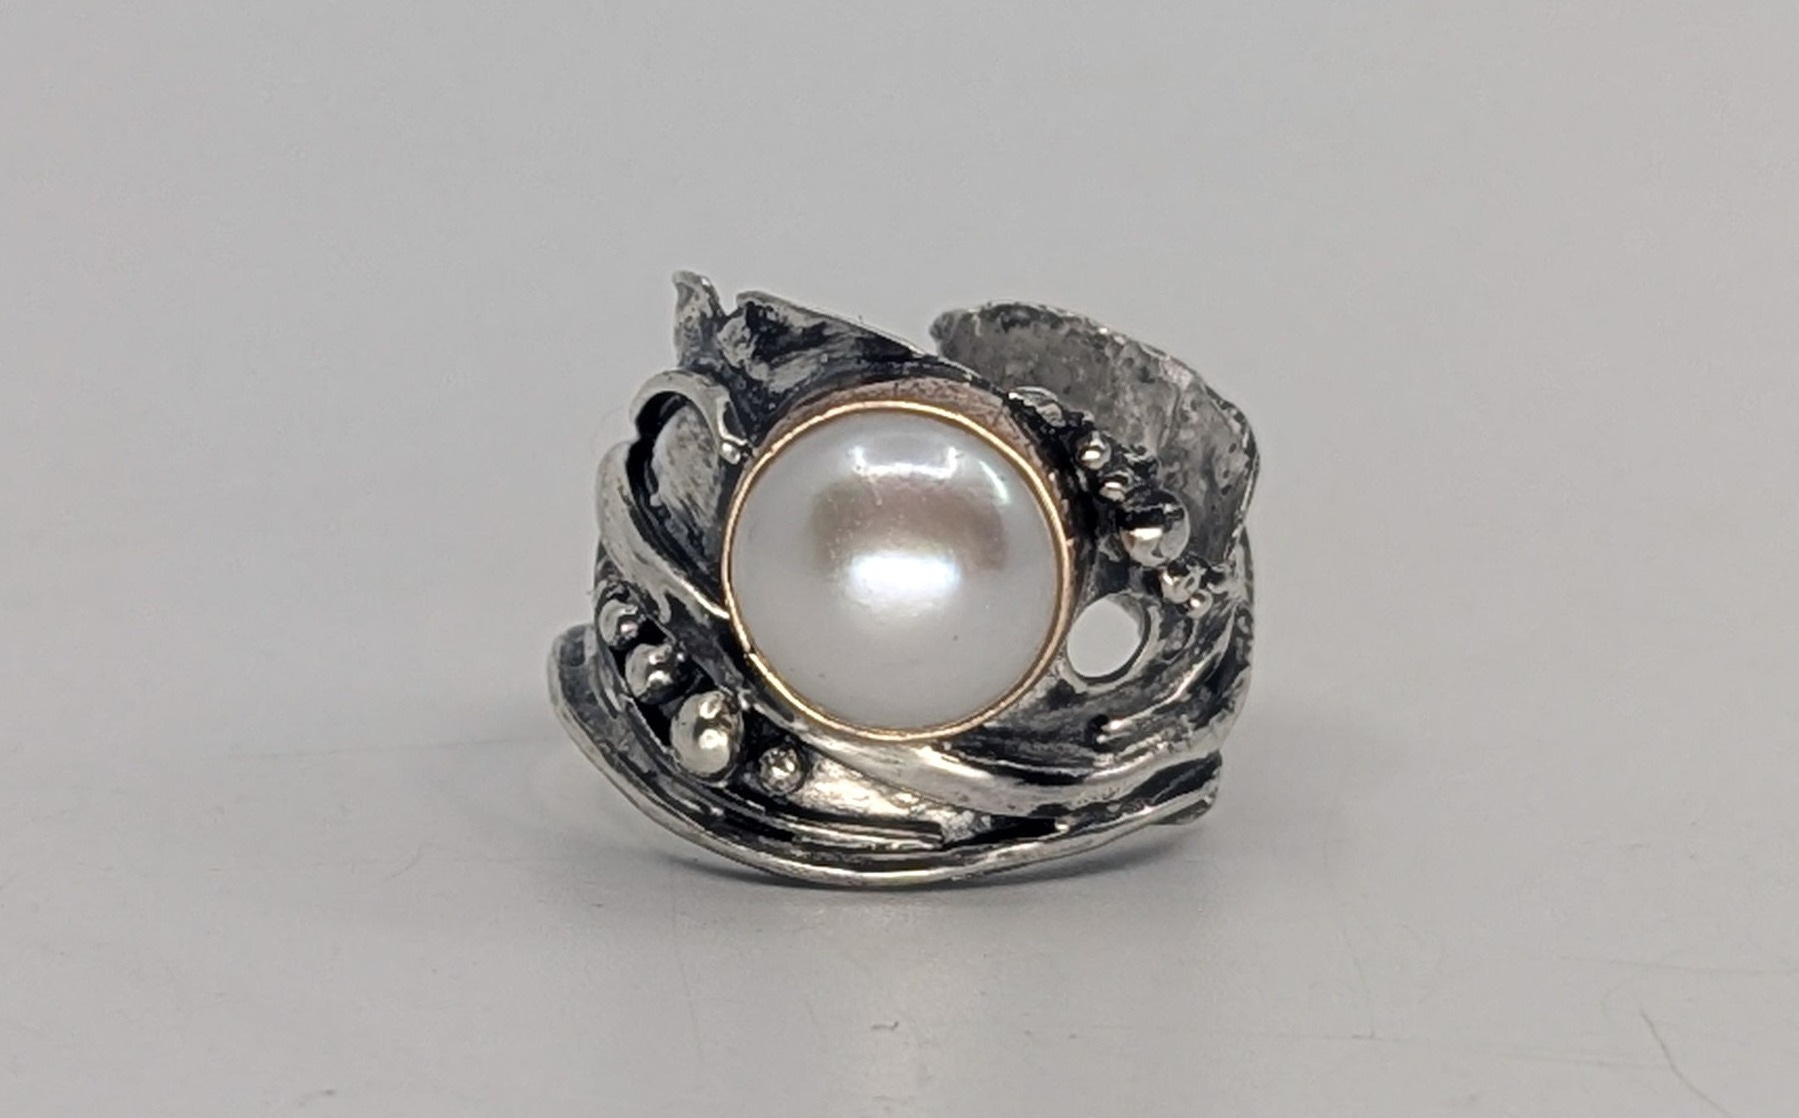
We agreed that the workshop that appealed to both of us was a “bezel set pearl ring” course offered by instructor Kelly Allenson. It took place on a Saturday starting around 10:30 and ending around 5:00 p.m. with a 45 minute break for lunch. This image was the inspiration:
Mountain Gems
We arrived at the shop about 15 minutes early. Classic kid in a candy store environment, a packed shop that overwhelms you with colors and textures on every shelf, bowls overflowing with precious stones, gems and all manner of gorgeous shiny things as far as the eye can see. Several aisles stocked with racks of jewelry making tools, torches, files, grinders and polishers.


All the individual stones were tantalizingly affordable, tempting one to fill up a bag with random crystal shards and exotic rocks for some undefined future project, or simply to stick in a bowl on your coffee table. Is this an earth sign fetish? I asked my Piscean friend as I stuffed my hands in my pockets to keep them from compulsively touching ALL the things. No, she assured me with a childlike grin.
But there was no time to shop anyway... We were there for a purpose!
We sidled up to the counter where the instructors had already laid out all our materials, including a 3 inch by 1/2 inch silver sheet which would form the band of the ring, lengths of sterling silver wire in 18 and 14 gauge, with round or square edges to suit your taste, a tiny strip of gold to create the “bezel” which would hold the pearl, and last but not least a wide array of pearls, ranging from tiny and round to massive and round.
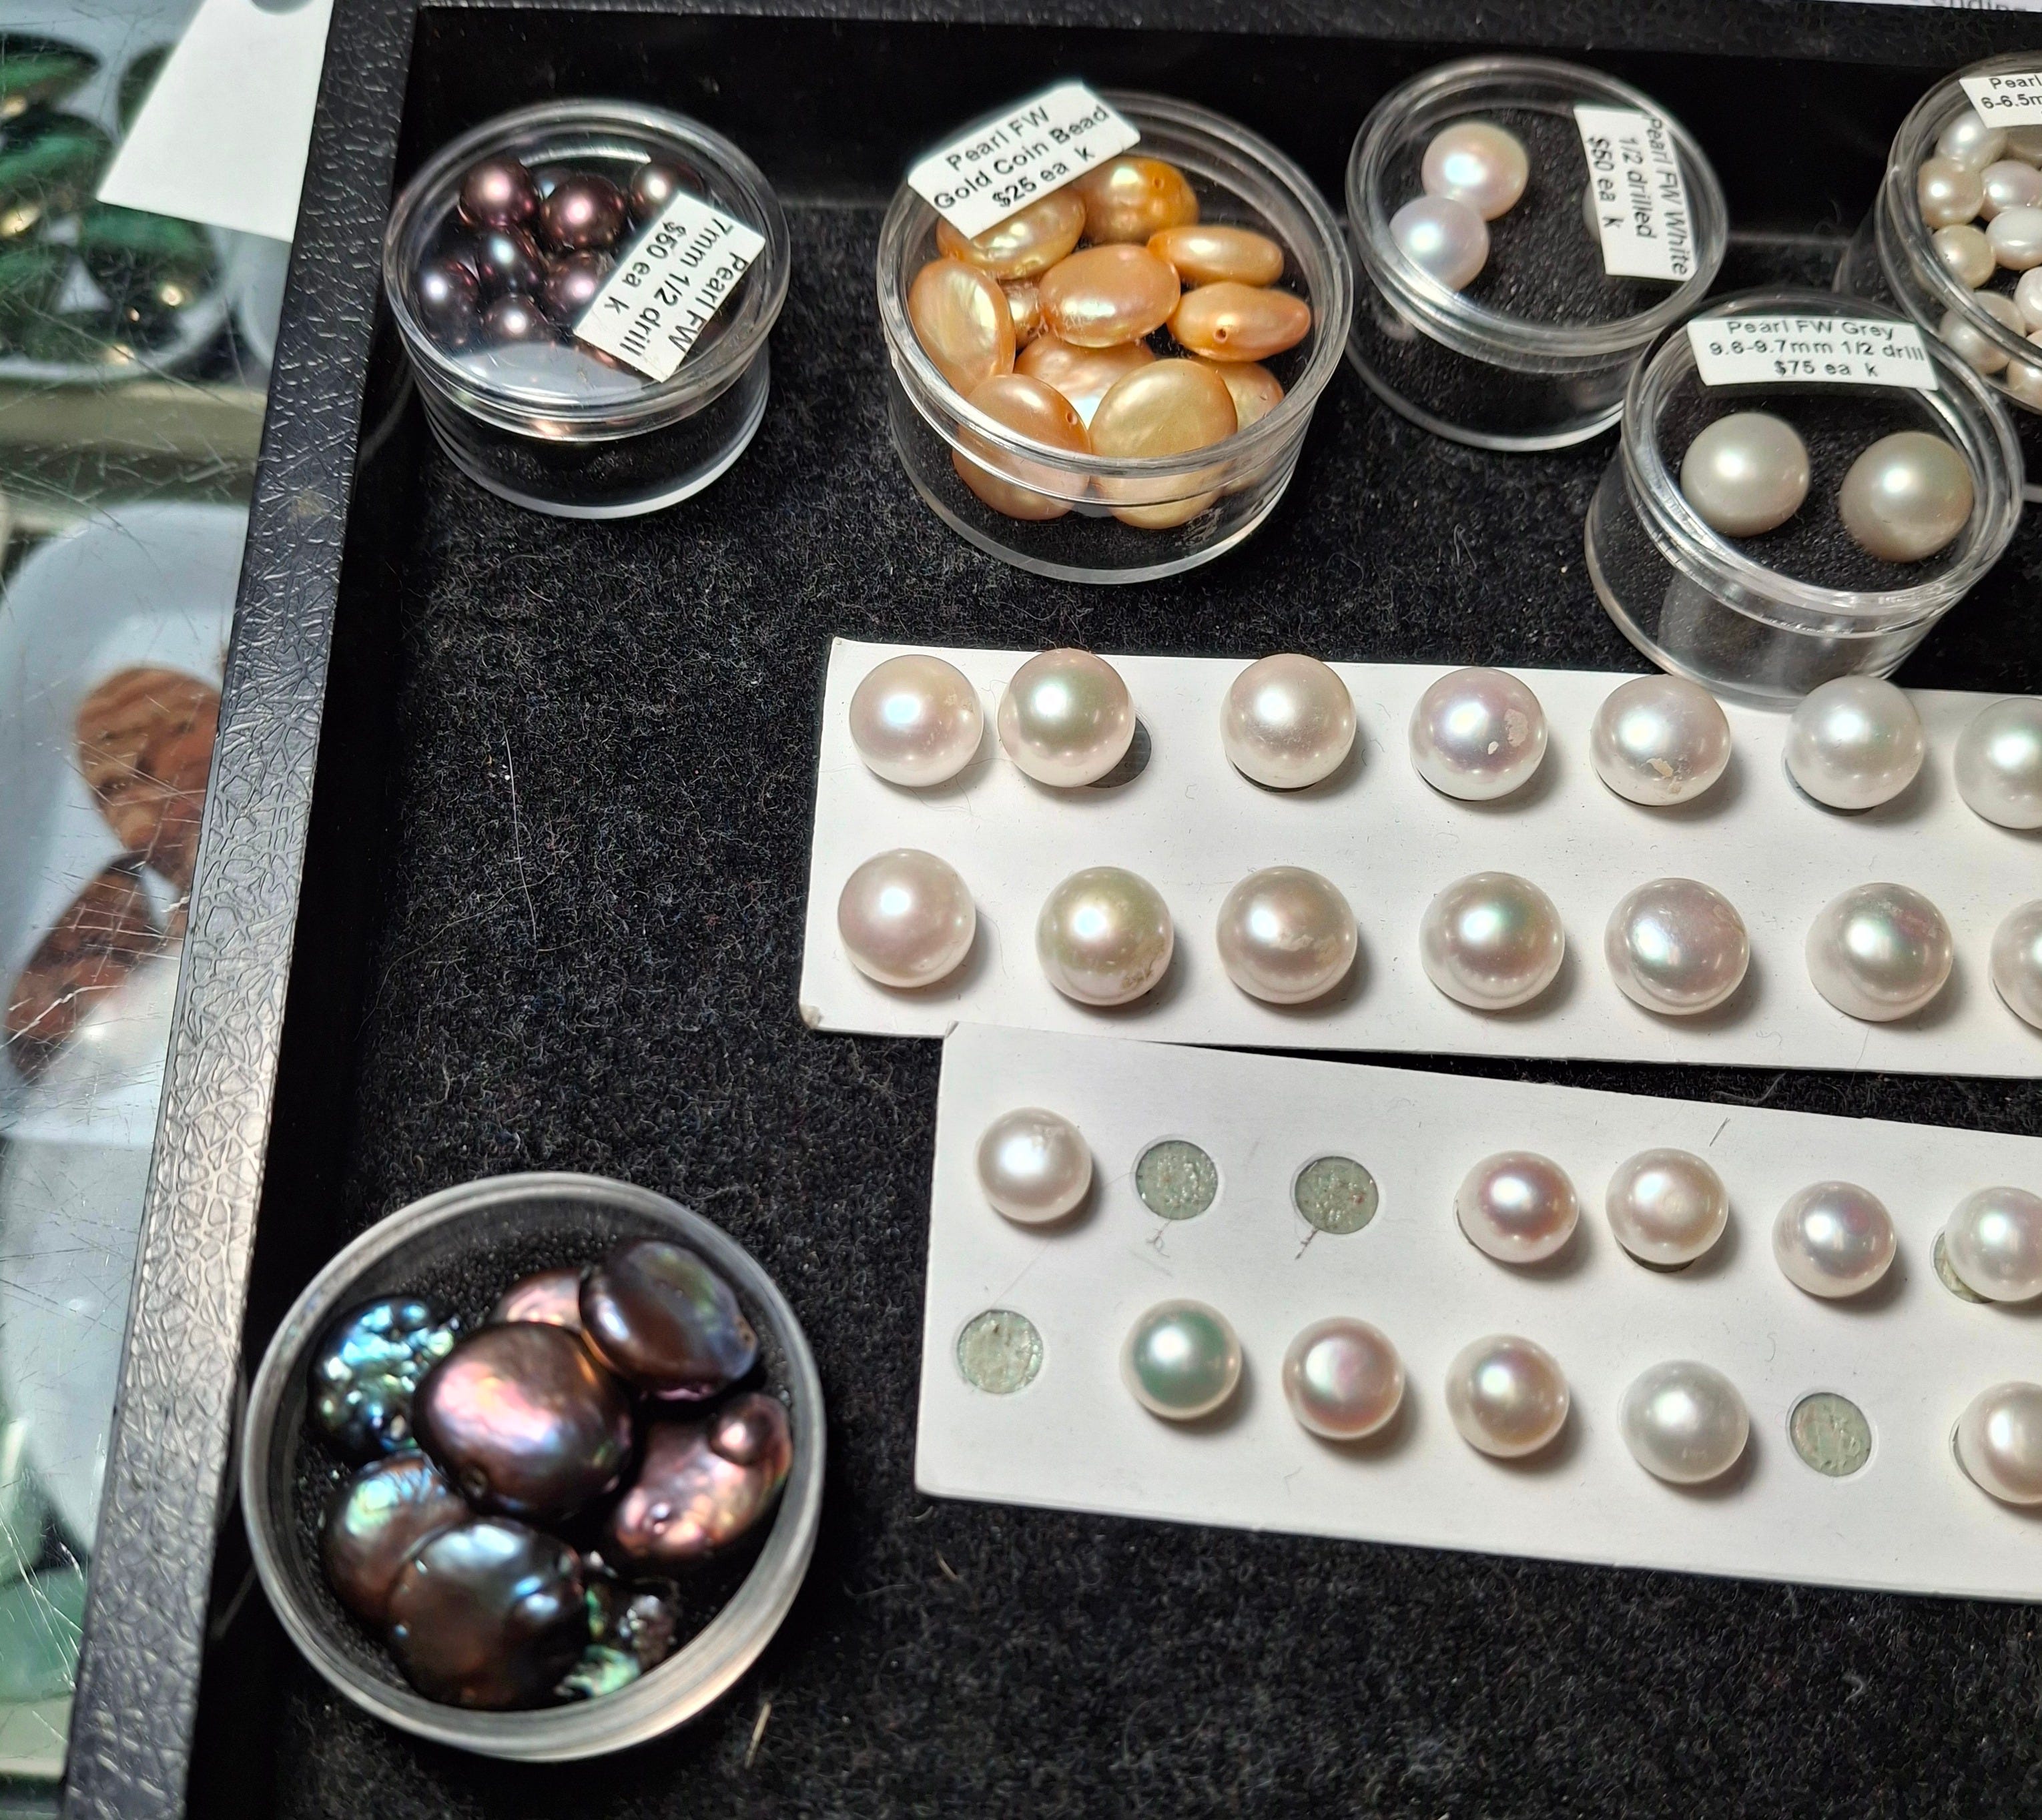
We both gravitated to the black pearls and furthermore the large flat disc style versus small and round. The instructor asked if either of us had experience working with metals and solder, and we said no.
She cautioned to us that the large flat stones are more challenging to set. We looked at each other and then back to her. That’s okay, we agreed. We were up for the challenge!
The Classroom
Once we had gathered all our materials, we filed downstairs into the classroom and got set up at our stations. There were 8 or 10 students. The instructor and her assistant were super helpful, demonstrating everything once and then coming around to make sure we understood everything and answer any questions, or help out as needed.
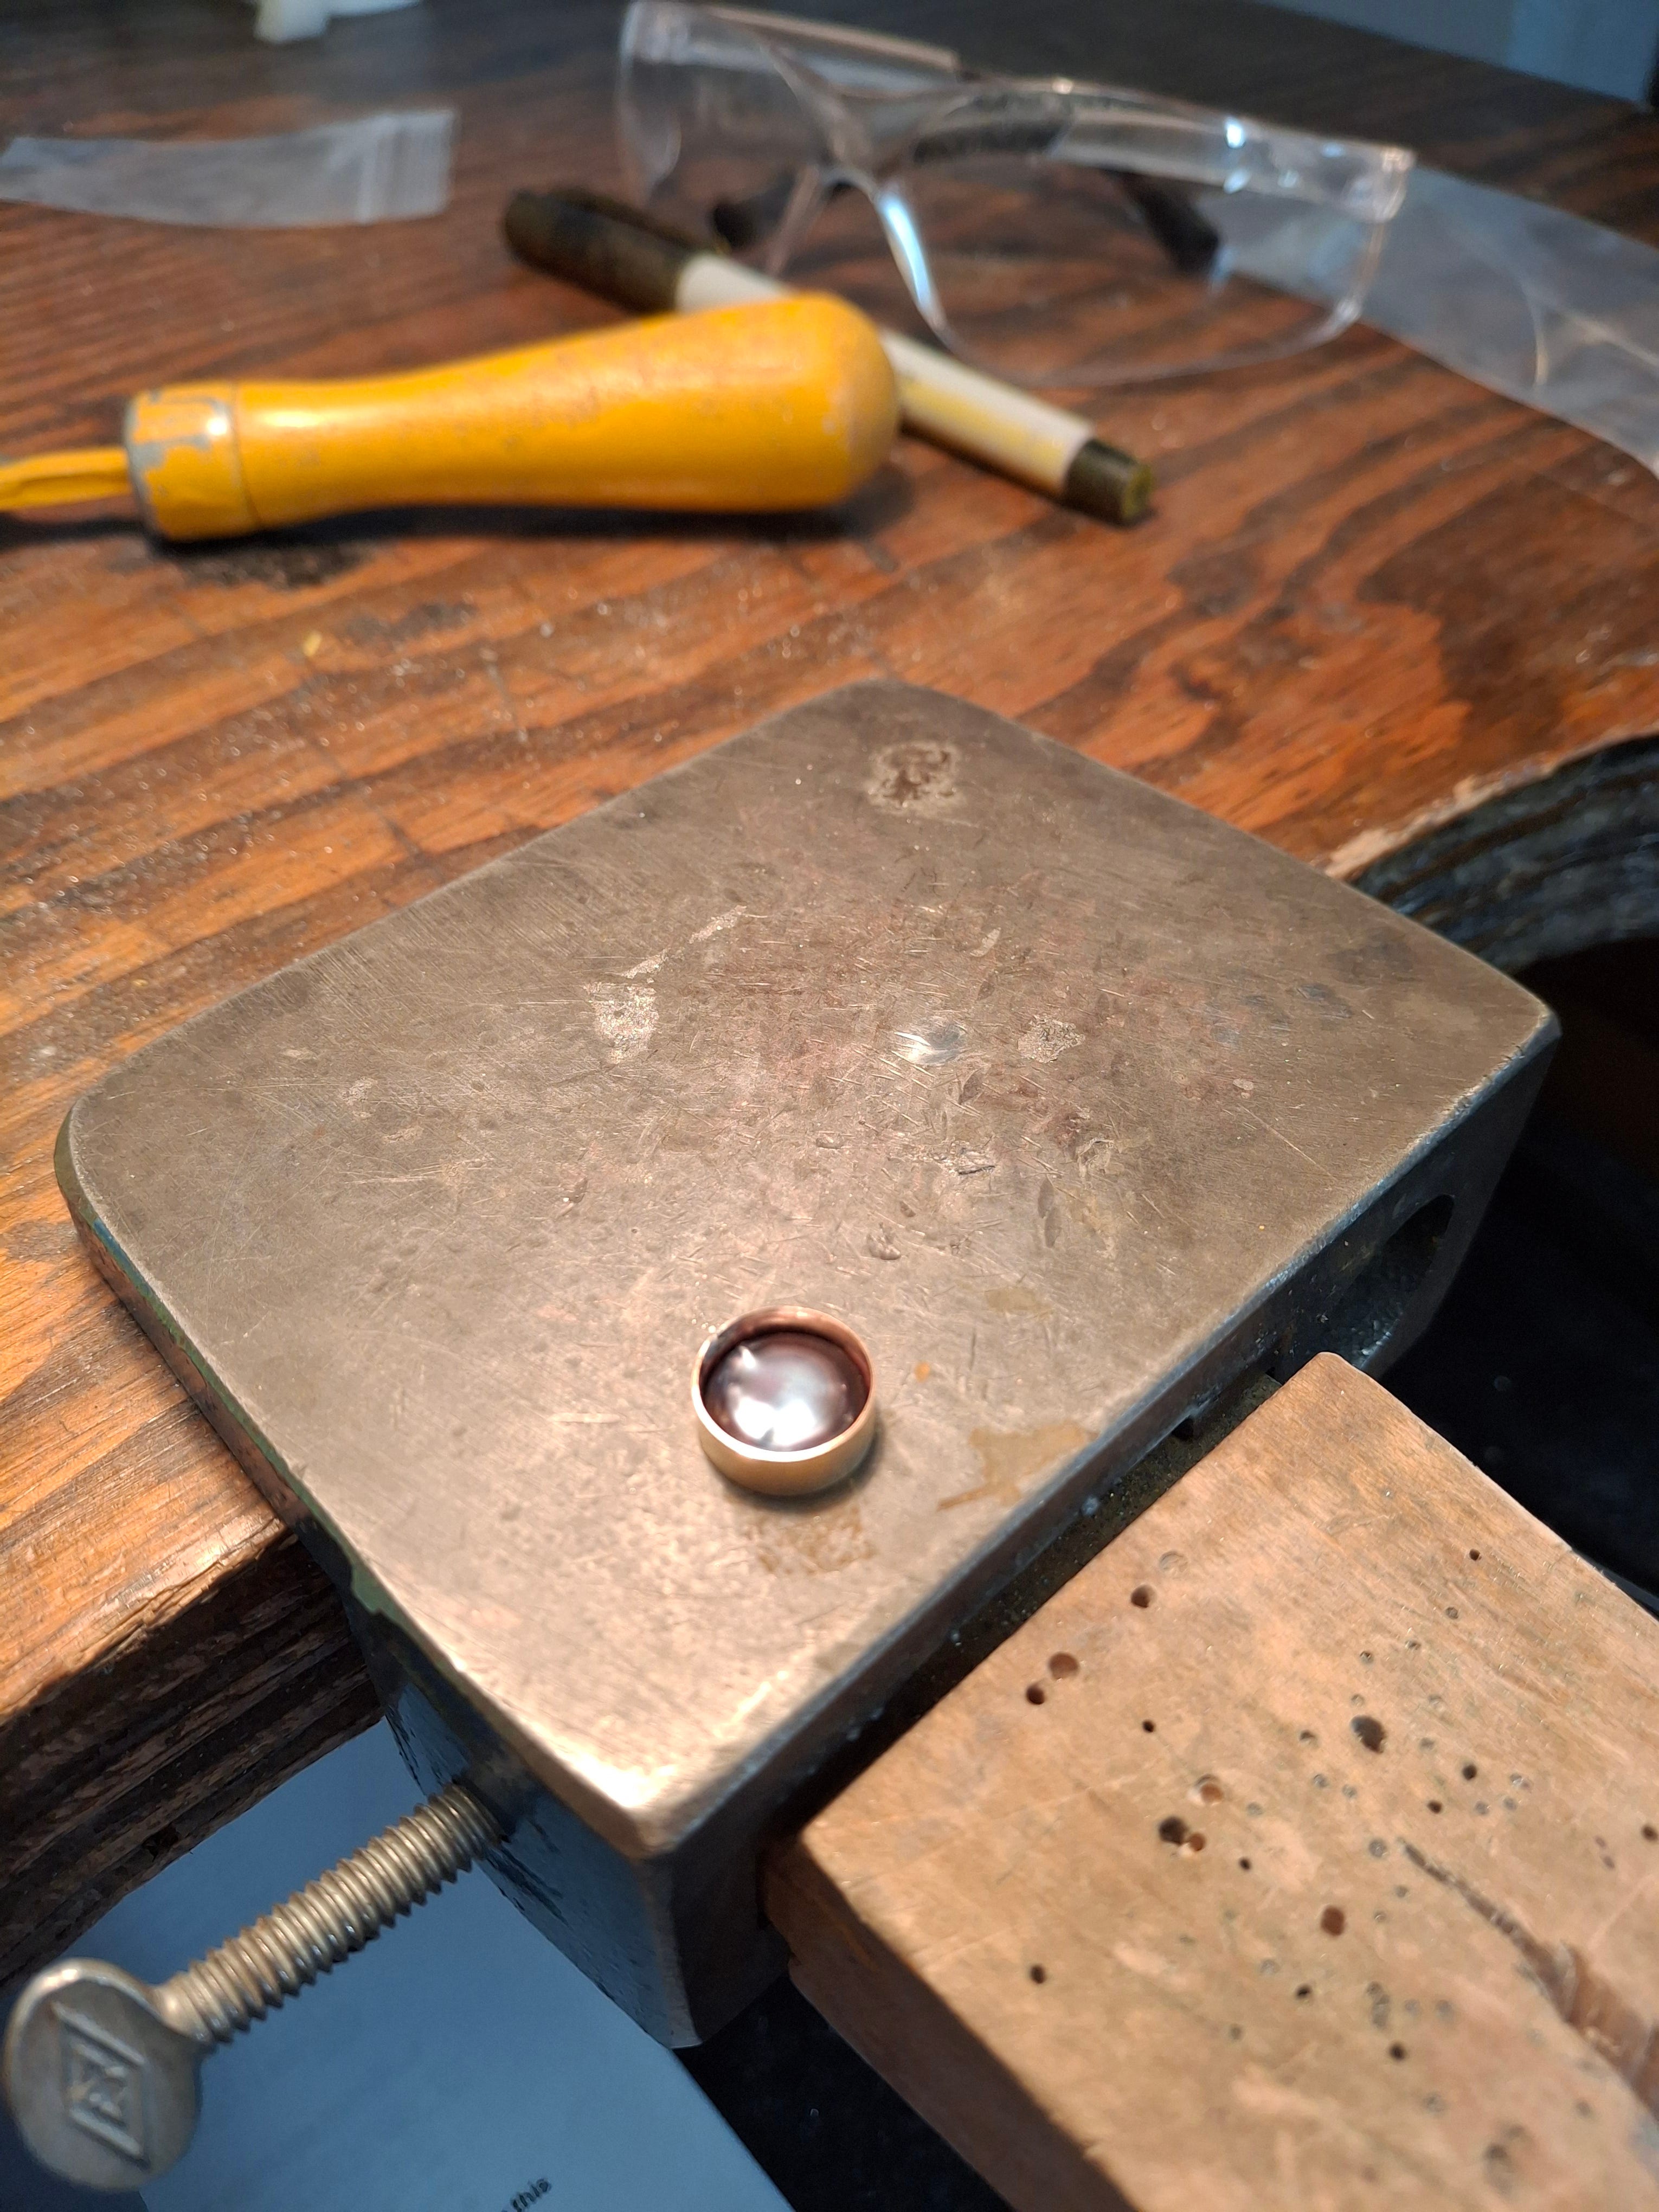
Gold Bezel
The first step was to make a bezel from the gold strip. This is the part that the stone actually sits in, which gets mounted to the band. We had the option to use silver instead but my friend and I both liked the look of the combination of silver and gold with the black pearl.
We shaped the gold strip around our pearl, cut it to fit and then soldered the ends together so the pearl fit snuggly inside, then we set the pearls aside.
The Design
At this point, we were instructed to start hammering our segments of silver wire to give them some texture, then place them on the silver strip to create our design. My mind went blank. Resisting the urge to look around the room to see what everyone else was doing, I started hammering and bending pieces of wire and placing them in different configurations until a design emerged out of the ether.
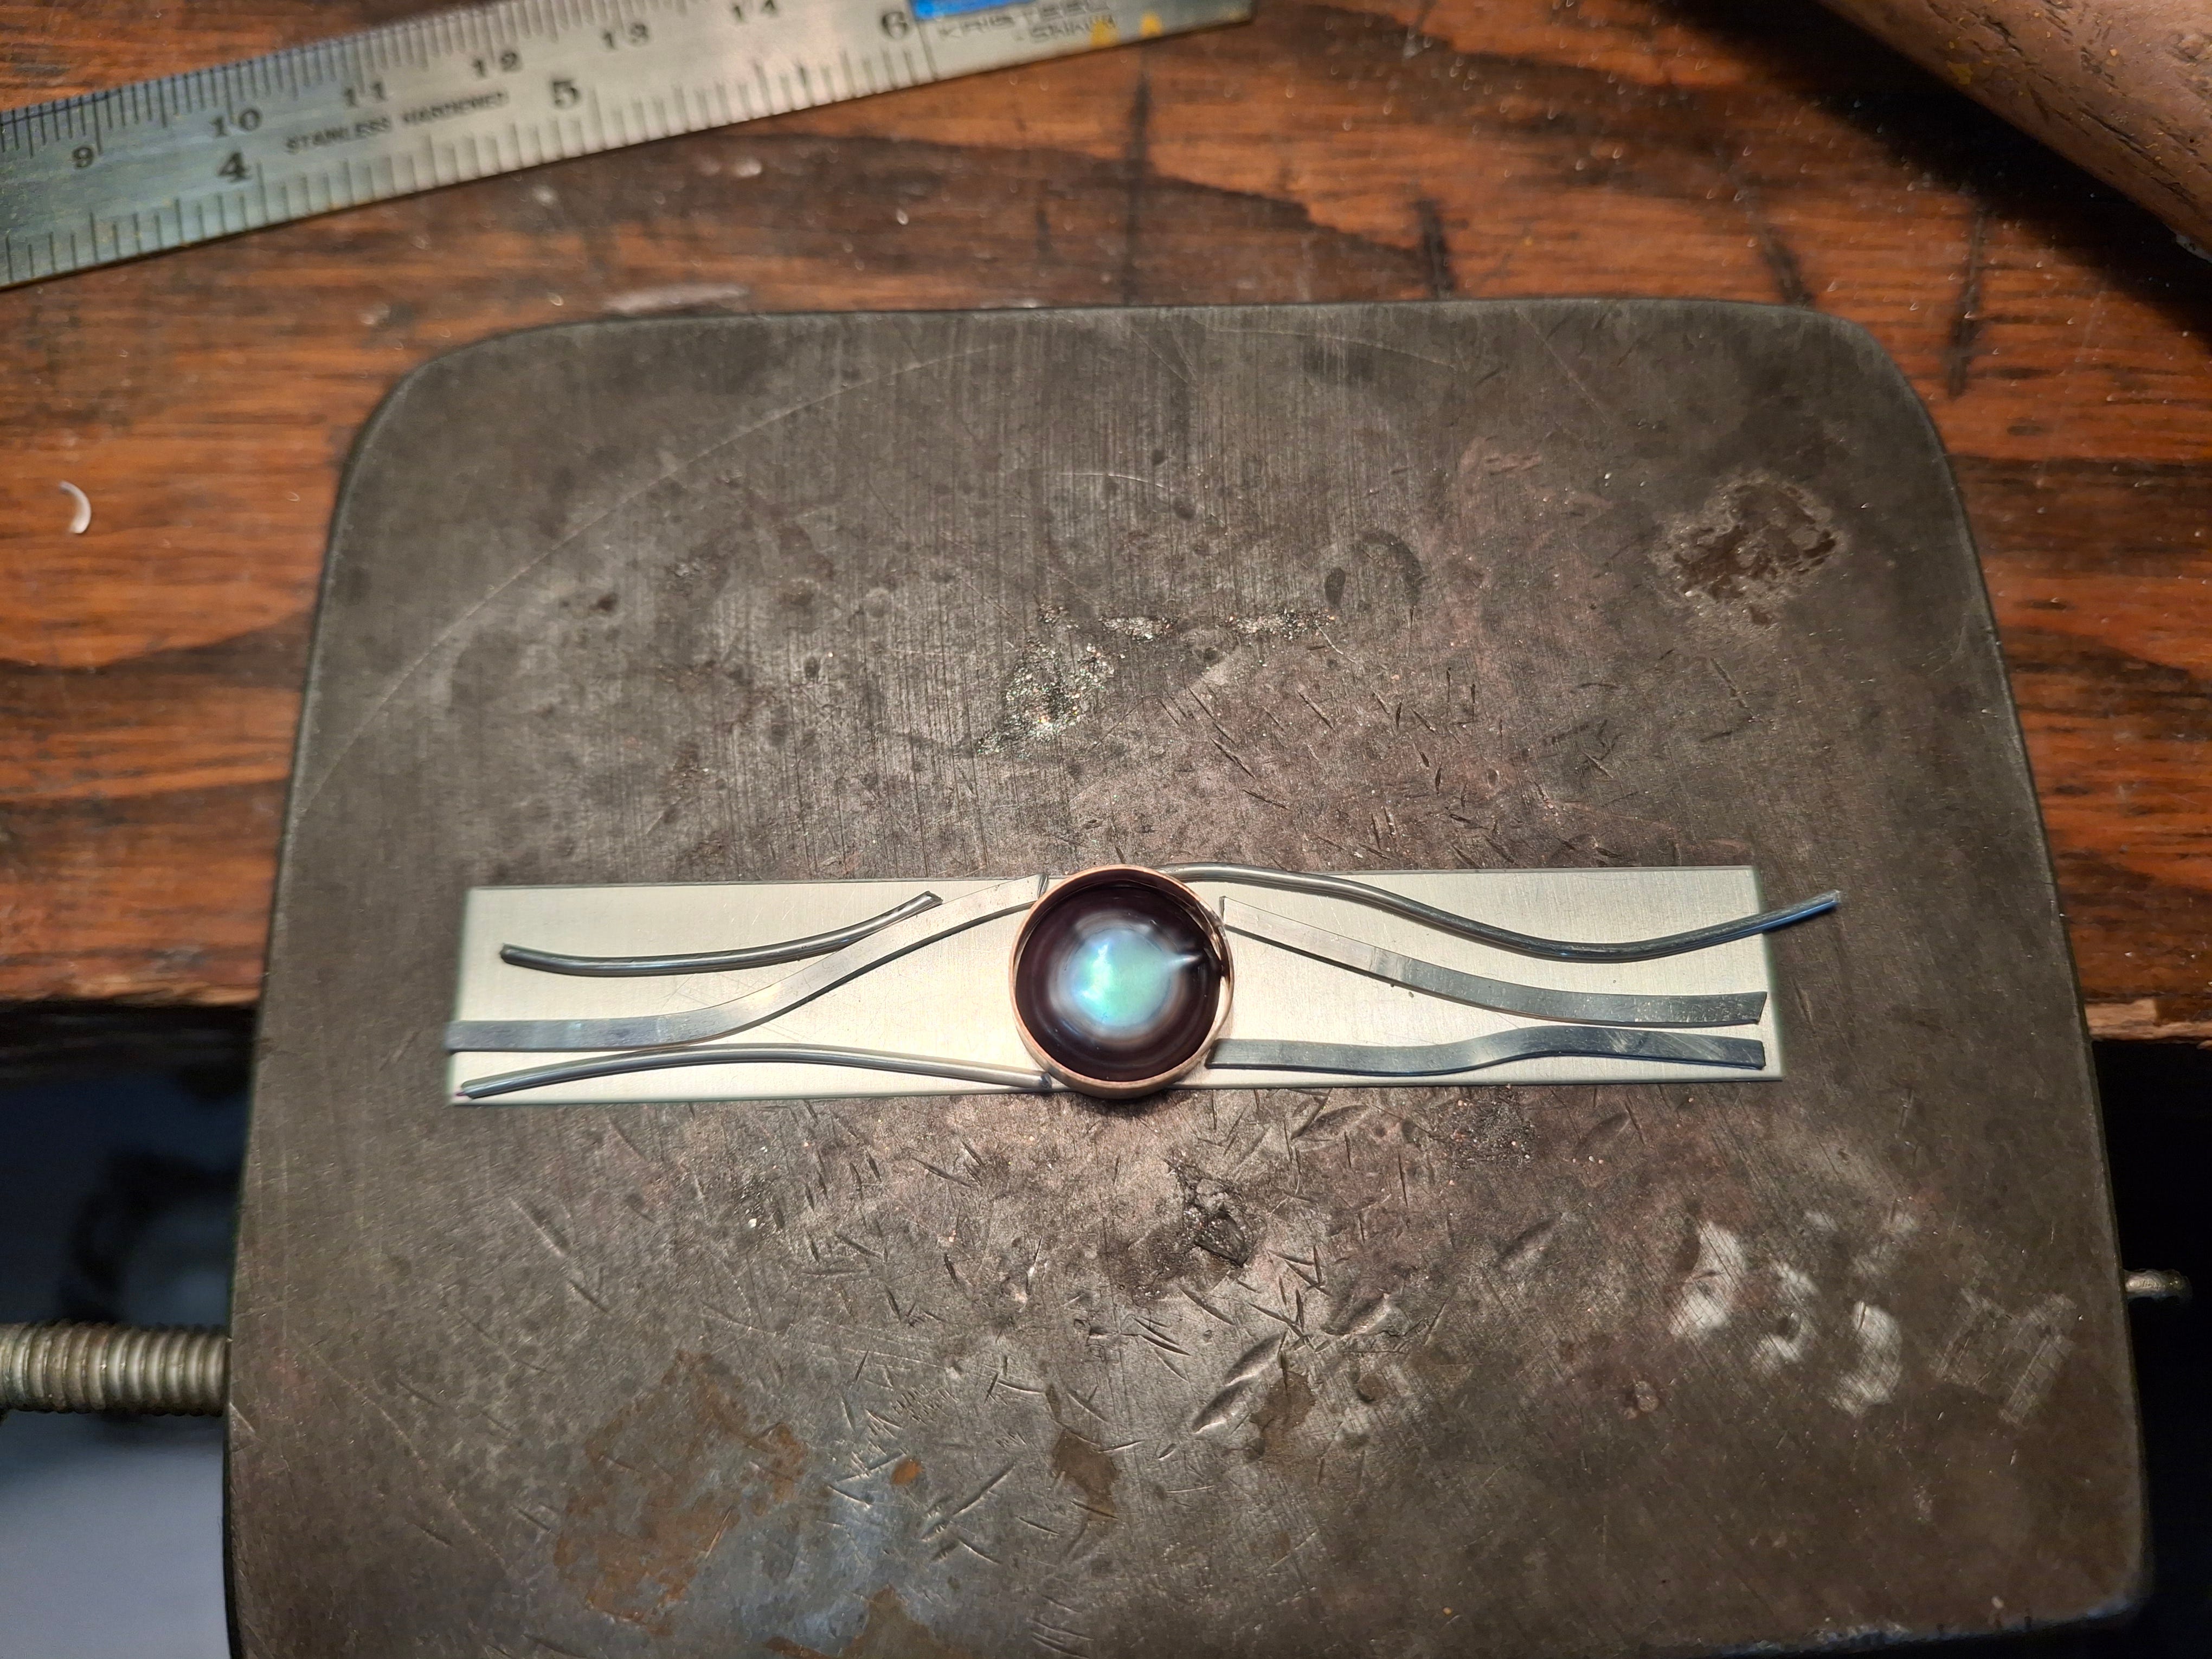
The instructor’s assistant came around and commented, “It looks like the Eye of Horus!” How appropriate... I had accidentally stumbled upon a mythological theme.
My forte is definitely not abstract art, but the instructors assured us that it would all come together, even if it didn’t look like much at first.
Next step was to take a picture of our design in case it shifted in transit, then take it over to the fire station, and solder our wire pieces onto the silver band.
Soldering Silver
Working with solder is nerve-racking, as it comes in tiny squares the size of confetti you might find on the floor of Barbie’s townhouse after a party. It melts into almost invisible little balls that can easily fall into the cracks of the wooden desk or the fire brick and need to be replaced with more solder and melted again. If you forget to spray “flux” onto your solder, it will not melt, just turn black and again need to be replenished.
But after a couple rounds of trial and error, all of my pieces were soldered onto the band and the next step was to go back to the desk and cut away parts of the band with a wire hand saw, to create a more organic shape. I broke two wires trying to saw the band but eventually created a somewhat pleasing shape.
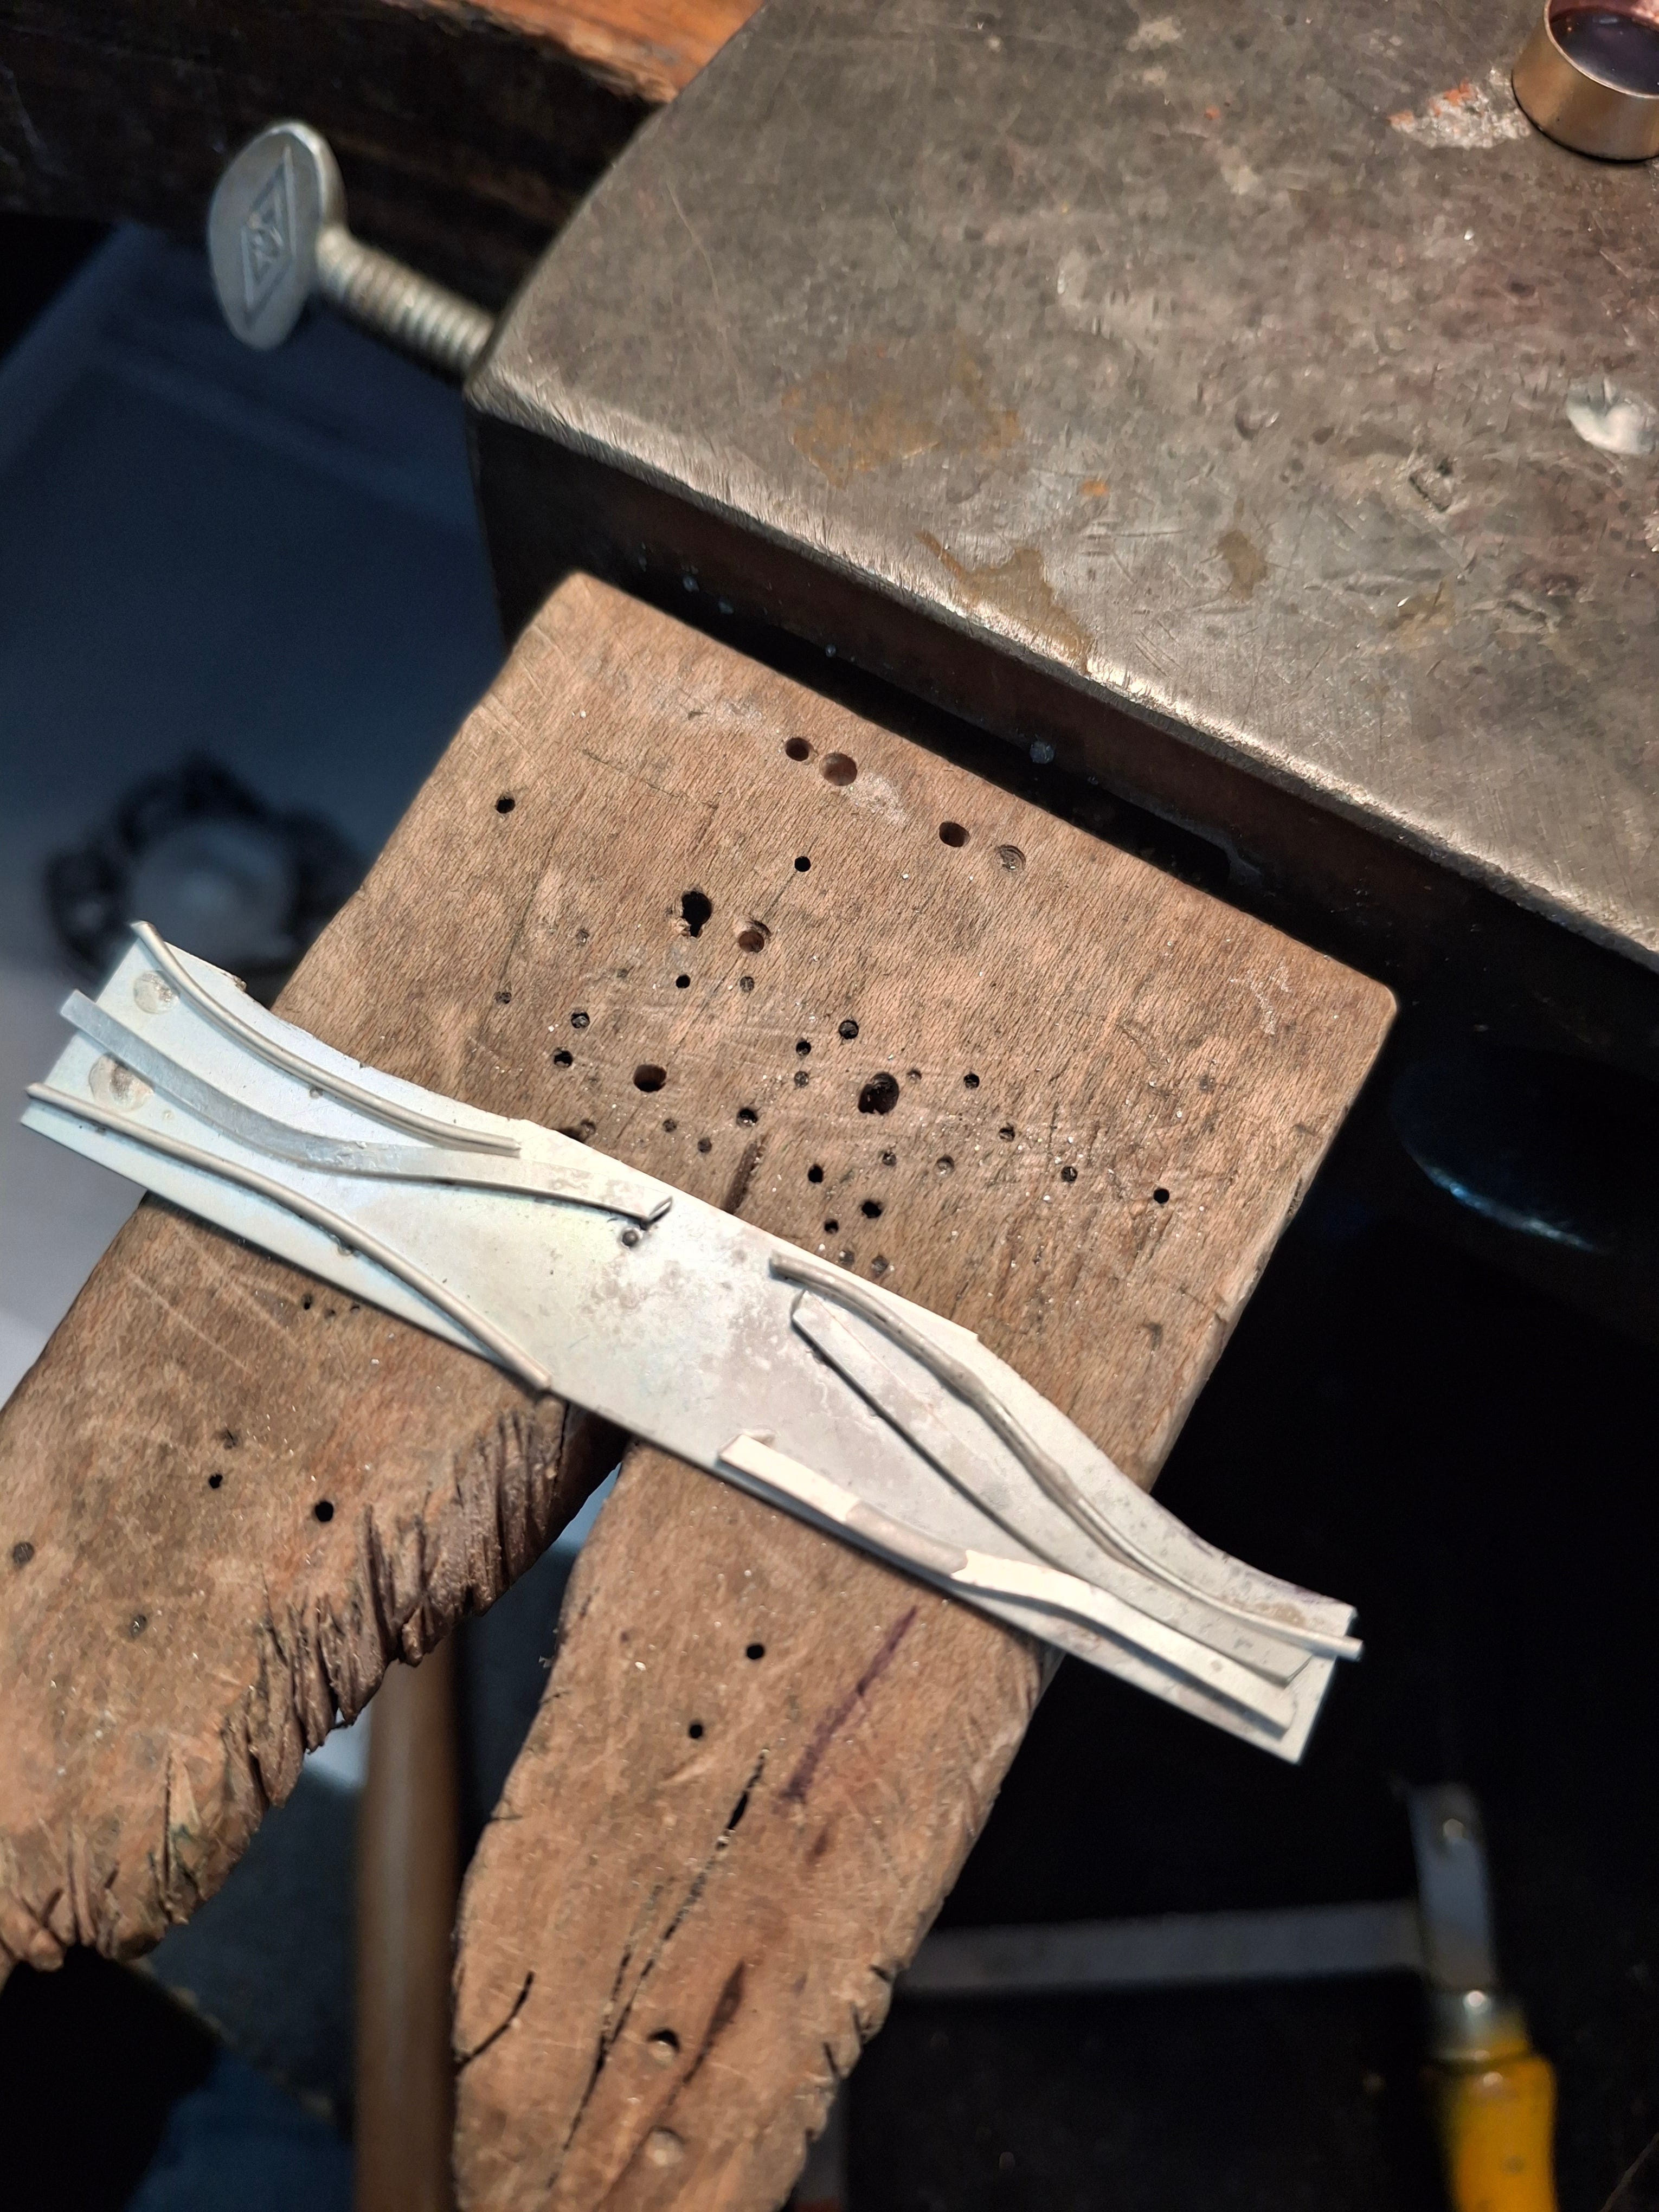
Then it was back to the fire brick to torch the band and melt the edges to create a nice molten, rustic look. At this point, some of my soldered wire pieces began to pop off and needed to be soldered again. I did a bit more filing and more sawing and melting and then it was time for lunch.
My friend and I agreed that this was intense, stressful work, requiring great focus and lots of hunching over while fiddling with tiny, delicate things, but nonetheless we were both having a lot of fun.
Shaping the Ring
Finally it was time to start shaping our rings. Using a special rounded crimping tool, I carefully bent the strip into a circular shape and realized it needed more sawing and melting to remove some of the bulk at the ends of the band if I wanted to be able to close my fingers comfortably.
I used the sizing tool to make sure it was the right diameter, tried it on, and continued bending it until the fit was perfect. The design is meant to be forgiving since it’s not closed, but overlaps slightly to be adjustable. With such a wide band, you definitely want to be careful with your edges to make sure you can close your hand and that the design is actually flattering.
I unfortunately do not have long, thin, graceful fingers, so although I’ve always admired the look of big chunky rings, I tend to shy away from them. But this was my chance to create the perfect fit and style. No pressure!


Putting the Pieces Together
Next came the gold bezel, which needed to be filed to create a curve so it could be soldered onto the band securely. This is where the added challenge of choosing a large flat pearl versus a small, round one came into play. A smaller bezel would be much easier to seat on the band, but I was up to the challenge…
I filed the gold bezel and placed it on the curved band over and over, but the fit never seemed quite perfect. Finally it seemed good enough, and I was afraid I might have over-filed it a bit, creating too much of a curve for the gold circle to sit properly on the band. I took it to the instructor to get her opinion, and she said it looked good, so it was time to solder.
The Hardest Part
This was definitely the most challenging step along the way. I clipped the ring into the “third hand” holder, and began adding tiny balls of solder inside the bezel. Every time I accidentally tapped the edge to drop the solder off the tweezers (because, maddeningly, it would stick!), the bezel would shift slightly and the tiny balls of solder would leak out from under the bezel and fall down the sides, disappearing into cracks in the fire brick. So frustrating!
After the third time losing almost all my little balls of solder, I asked the instructor for help. Yes, this is a tricky one, she said. Do you mind if I take over? Please do! I have no shame.
She expertly dropped several more pieces of solder into the bezel and torched away , expertly welding the tweezers and the torch until she finally got the bezel securely anchored to the band.
The first picture below is her dominating the solder like a fucking master!


The next step was to optionally add tiny balls of silver to the design, or drill small holes in the band to create more texture, or both. Since my design already had a giant flat pearl in the middle, I decided to just add a few holes and skip the balls of silver.
Looking around at other people’s designs, I was fascinated at how different everyone’s rings were turning out. Starting with all the same materials and the same instructions, we had all created very different rings.
Even my friend, who had chosen exactly the same materials, ended up with something very different from mine.
The second to last step was to file and polish the entire ring using a variety of polishing wands and brushes. We were given the option of adding a silver blackening liquid to create a more rustic look, which I did, and my friend opted not to.
The Final Step
For the very last step, we carefully fitted our pearls down into the gold bezel and used a flat metal tool to press the edges of the bezel down to hold it in place, working very slowly so as not to scratch the pearl.
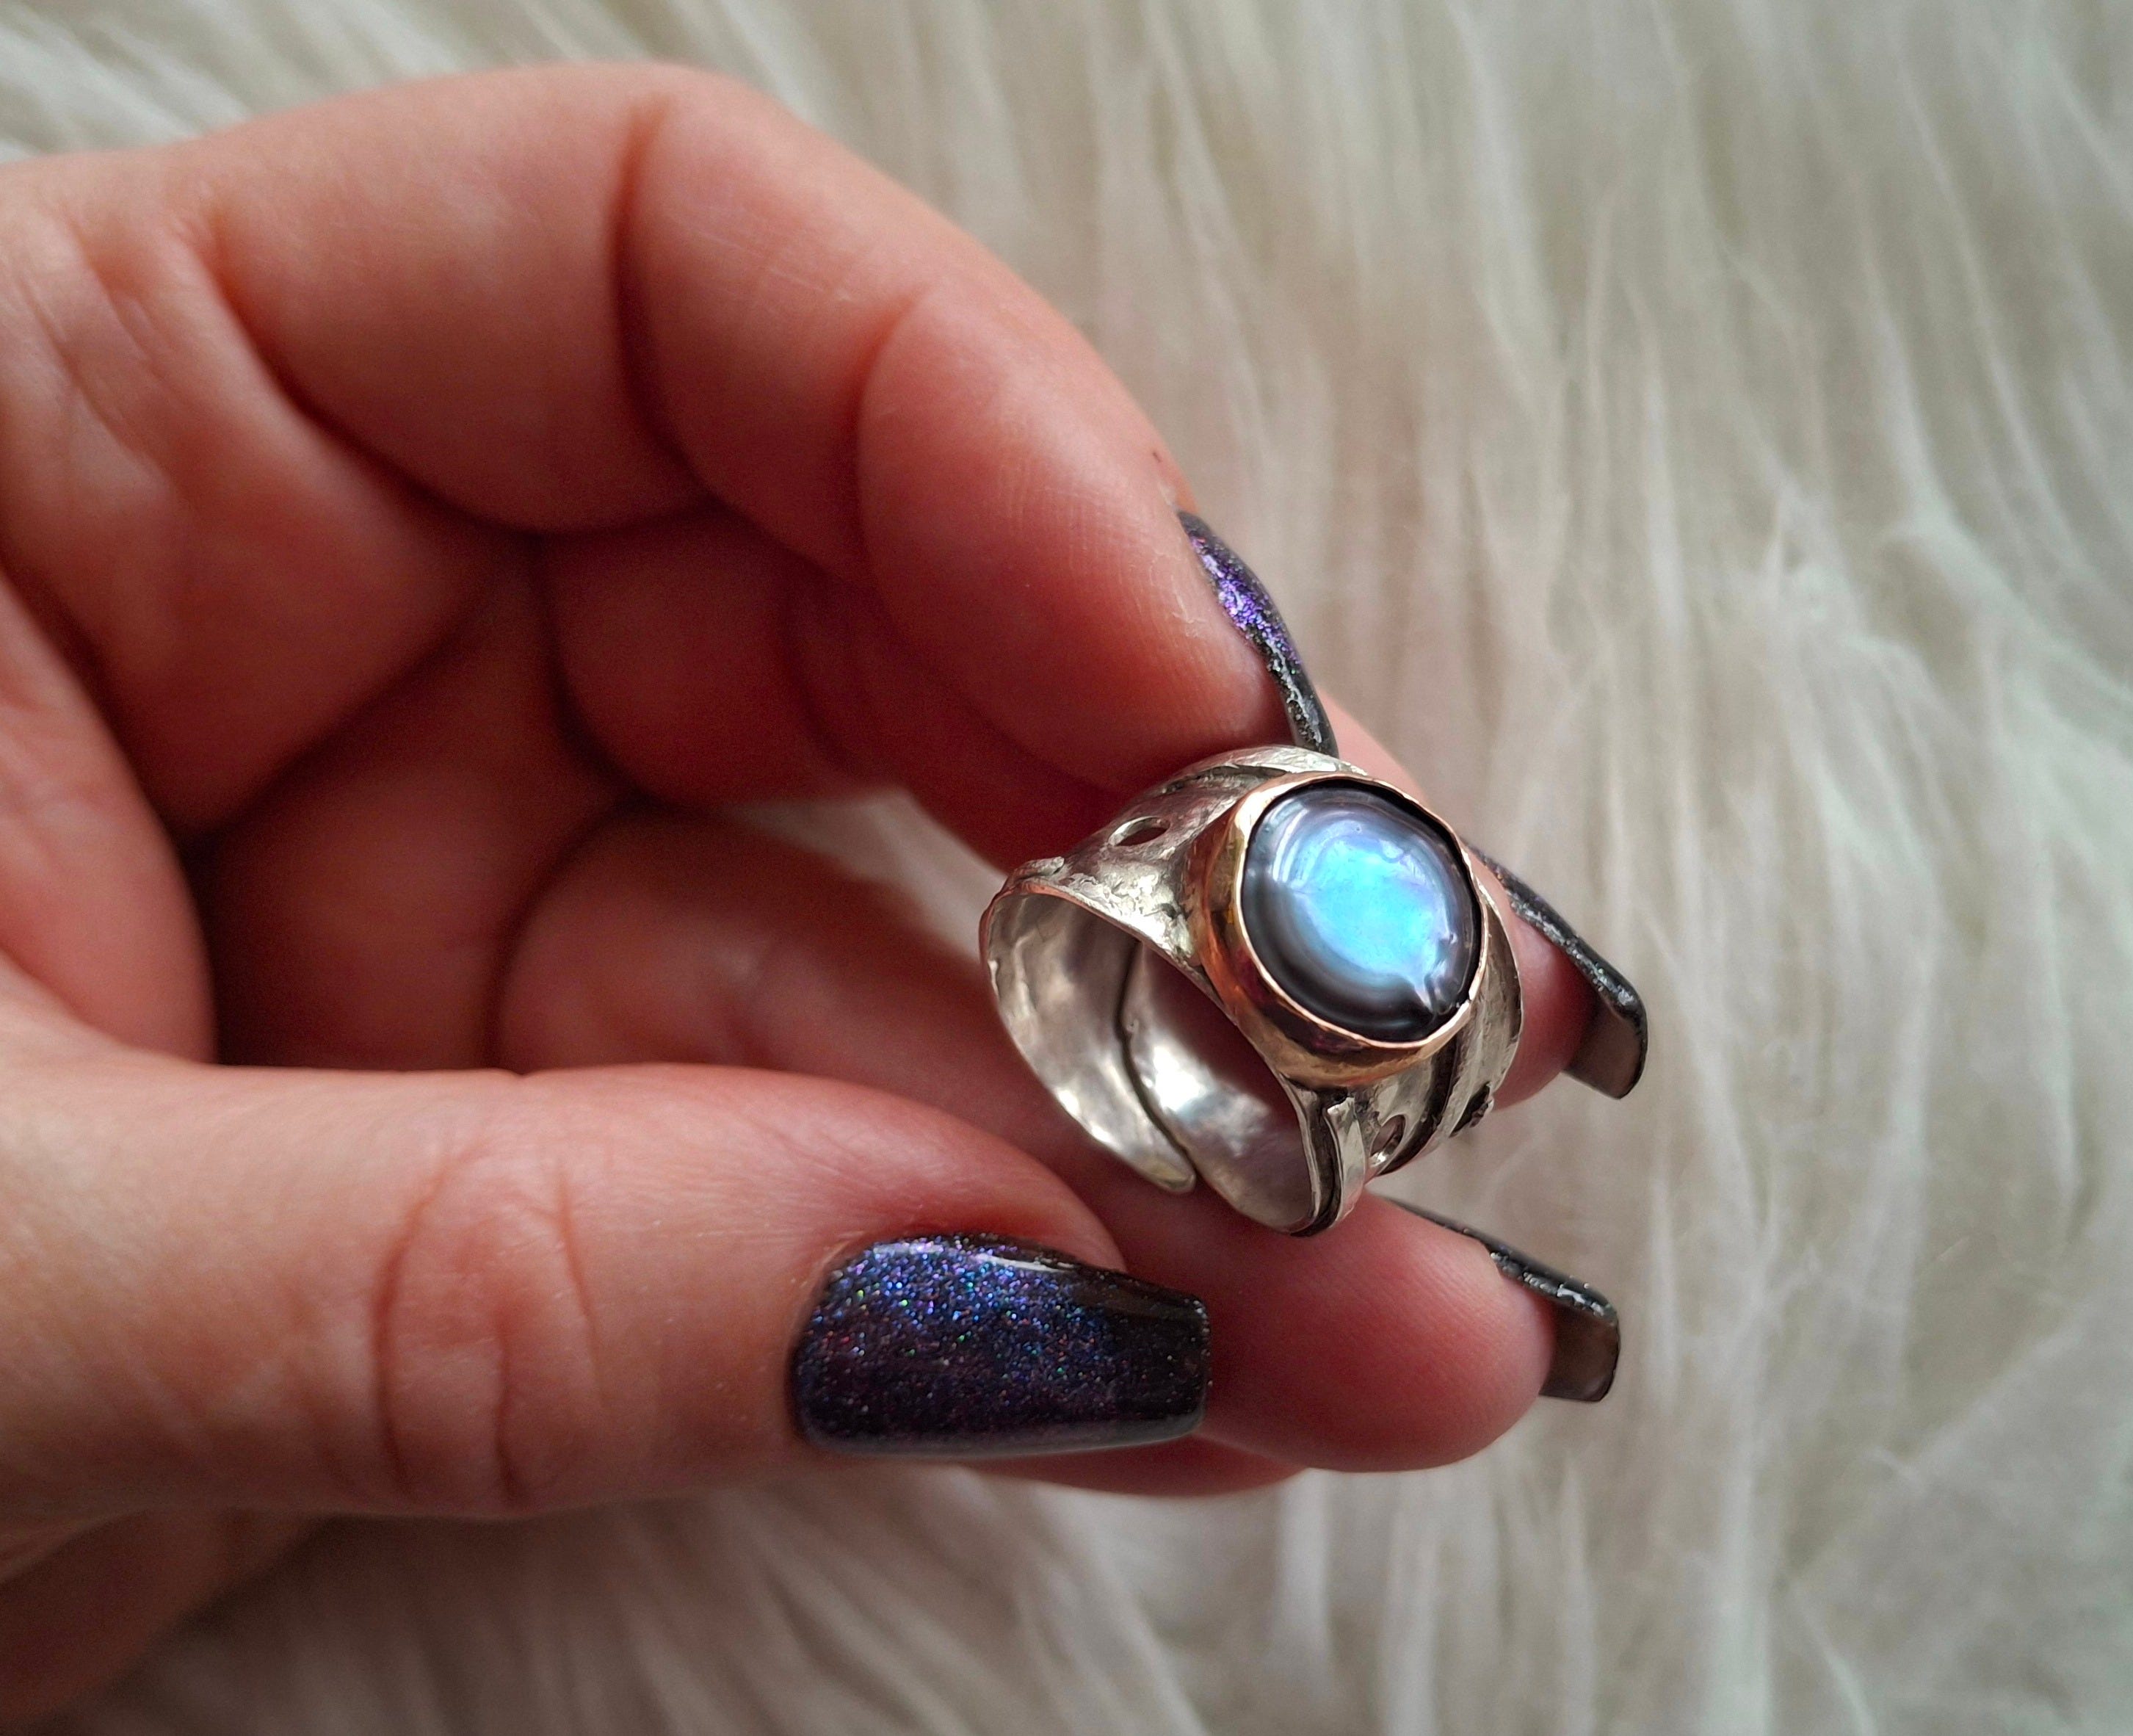
I’m super happy with how mine turned out. It fits absolutely perfectly and, even though it’s very wide, it is lightweight and looks graceful on my finger.
Now that I’ve dipped my toe in the art of silversmithing, I would totally do it again. I’ll keep an eye on the class list and sign up for another in the future. If they ever add one to create your own spinner ring, I would totally jump at the chance.
Total Costs
$140 - class time, including tool rental and instruction
$95 - materials, including $25 pearl (the large rounds ones were as much as $80)
I don’t tend to spend a lot of money on jewelry, preferring to buy it thrifted or support my talented jeweller friends (shout out to Woven Chains!), but I think the cost was very reasonable considering we received a full day of hands on instruction and walked away with a timeless and unique piece of jewelry, with a great backstory.
Here are some more pictures of the finished design.


Totally awesome and a cool reminder of my days as a silversmith when you were a baby and I wanted to work from home making jewelry :-) I loved the art (and challenge!) of shaping silver and soldering..